
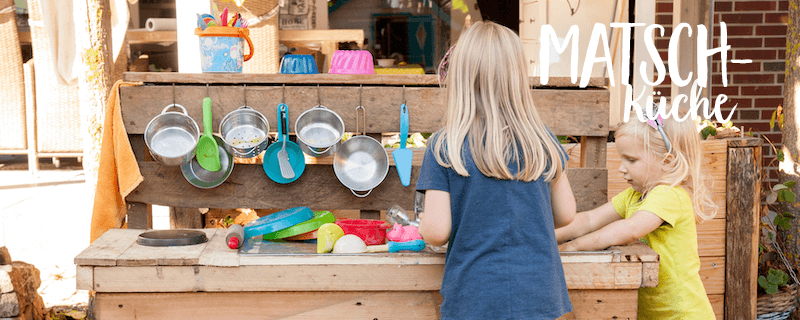
As children grow older and begin to explore the world, they also begin to imitate the world of adults. Cooking is a particularly popular activity. So if you don't want your kitchen to become a battlefield, you'd better listen up and get your screwdriver ready. With this DIY guide, you can build your kids their very own (mud) kitchen out of a pallet in no time, where they can really let off steam.
Required materials:
- One pallet (100x120cm)
- A sink
- Two approx. 67 cm long wooden slats
- A 120 cm long wooden slat
- Two wooden slats that are 15 cm longer than the sink is deep
- A wooden board measuring 120 x 14 cm
- Wooden boards to close the gap
- About 30 screws
- About 10 hooks with thread
Tool:
- screwdriver
- saw
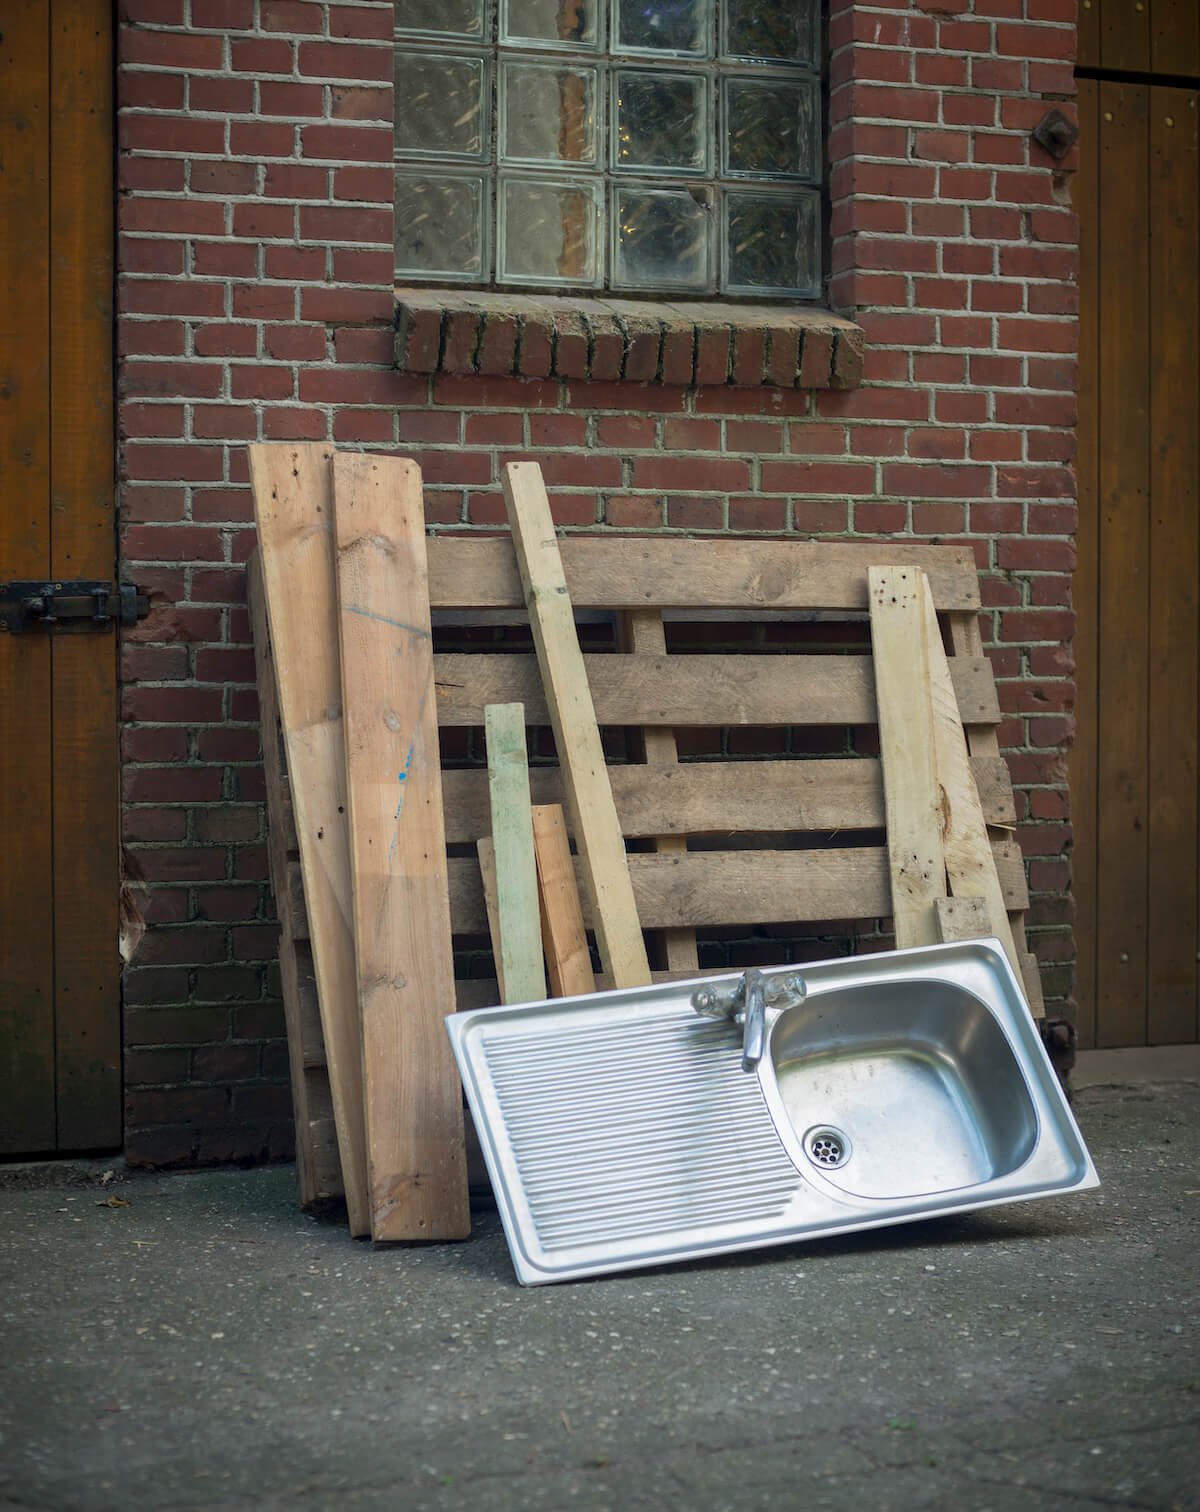
Step 1: The basic framework

A little tip: You can get a sink at a scrap yard, for example; they'll probably sell one for a pretty penny. Alternatively, you can look at flea markets or in demolished buildings. Or even in grandpa's basement.
Step 2: Install the sink

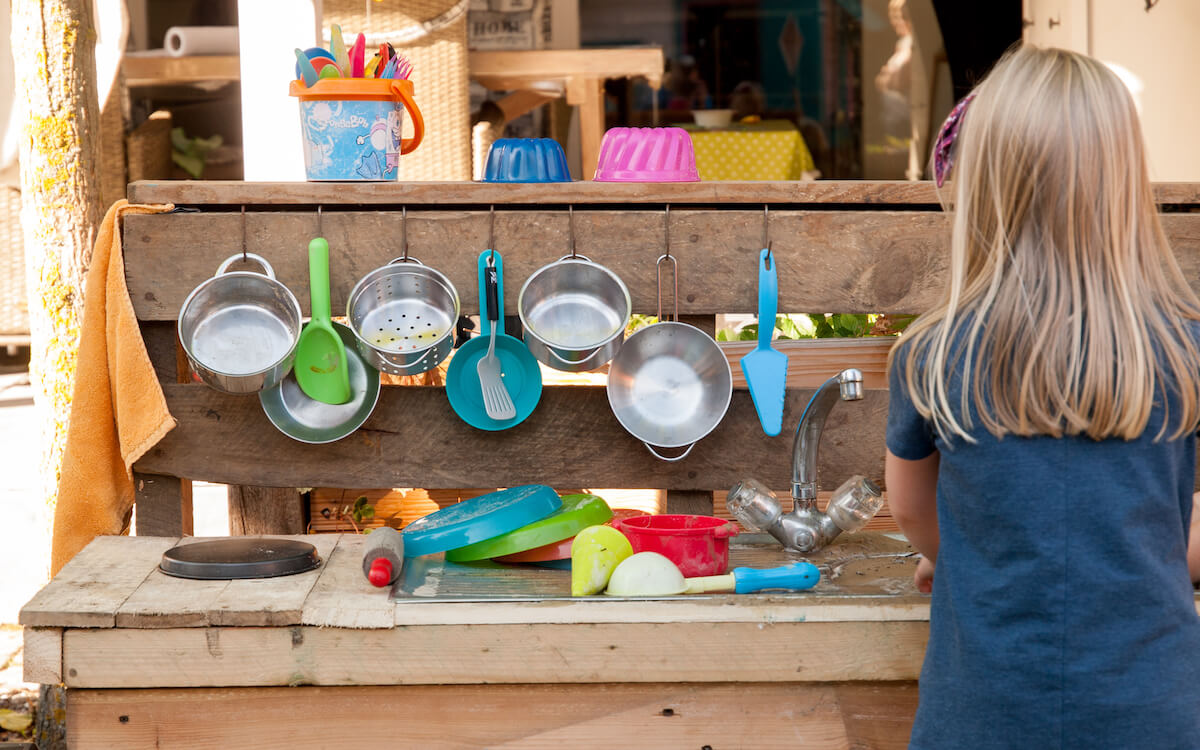
Place the sink into the substructure. It rests on the pallet at the back and the frame at the front. Fill the gaps to the left and right of the sink with sawn wooden boards and screws. This will be your countertop. Now screw the remaining 120 mm board onto the top of the pallet to create a storage area.


Step 3: The kitchen has several hooks
Finally, take the hooks and screw them to the top of the pallet's back wall. The kids can hang towels, oven mitts, and cups on them. They can place tea or coffee pots, small pots, and bowls on the pallet's upper edge, which is 14 centimeters wide. And if you can find a suitable plug somewhere, the kids can even do the dishes in the sink. This will make the little ones feel really grown-up!
Great project for the DIY mud kitchen - make your own flower marbles!
Such a great DIY mud kitchen naturally deserves to be used extensively! Our flower marble kit is a particularly great family project. It contains everything you need to make approximately 30 flower marbles : seeds , garden soil, and clay and clay powder. Using the detailed step-by-step instructions, you'll have your own little seed bombs rolling in no time—and thus, inaugurating your mud kitchen in style! You can then throw the finished flower marbles onto the ground and admire the beautiful flowers in a few weeks!
A great idea to experience nature together with children!

Discover our products for children
There's nothing more beautiful than experiencing nature together with children and sharing with them a fascination for the small and large wonders of our environment. With our products, even the youngest children can playfully experience how beautiful nature is and how worthy of protection it is.
- Colorful flower marbles - small seed bombs for children
- Flower marble kit - DIY!
- Our seed bombs and seed bombs
- Flower Children Gift Set
- Open-air buffet for squirrels
- flower press
All products for children at a glance can be found here .
Is DIY your world?
There are many good reasons to make things yourself. It saves resources, sometimes even money, it's fun, and you learn a lot. What's more, there's a special magic in the things you've created with your own hands and passion. It's a wonderful feeling you can't buy in any store and for any amount of money.You can find more ideas for great DIY projects in our book " Your Creative Garden ." Thanks to step-by-step instructions and helpful pictures, many of our DIY ideas can be recreated with children. The internet also has a lot to offer. So if you want to get active, the following websites are a good place to start:
We hope, of course, that you stay true to the DIY theme and wish you lots of fun and success with your next construction projects!


